一、OverView
Java 中权限管理最常用的技术应该就是:Spring Security 和 Shiro。
虽然 Shiro 用它轻量、简单、易于集成占据一席之地,但随着 SpringBoot 的流行,Spring Security 也跟着鸡犬升天,就目前的趋势来看,Spring Security 结合 Oauth2、JWT 等更加方便。
这次先小试牛刀一下,快速入门……
二、Environment
不想 error ,先看依赖
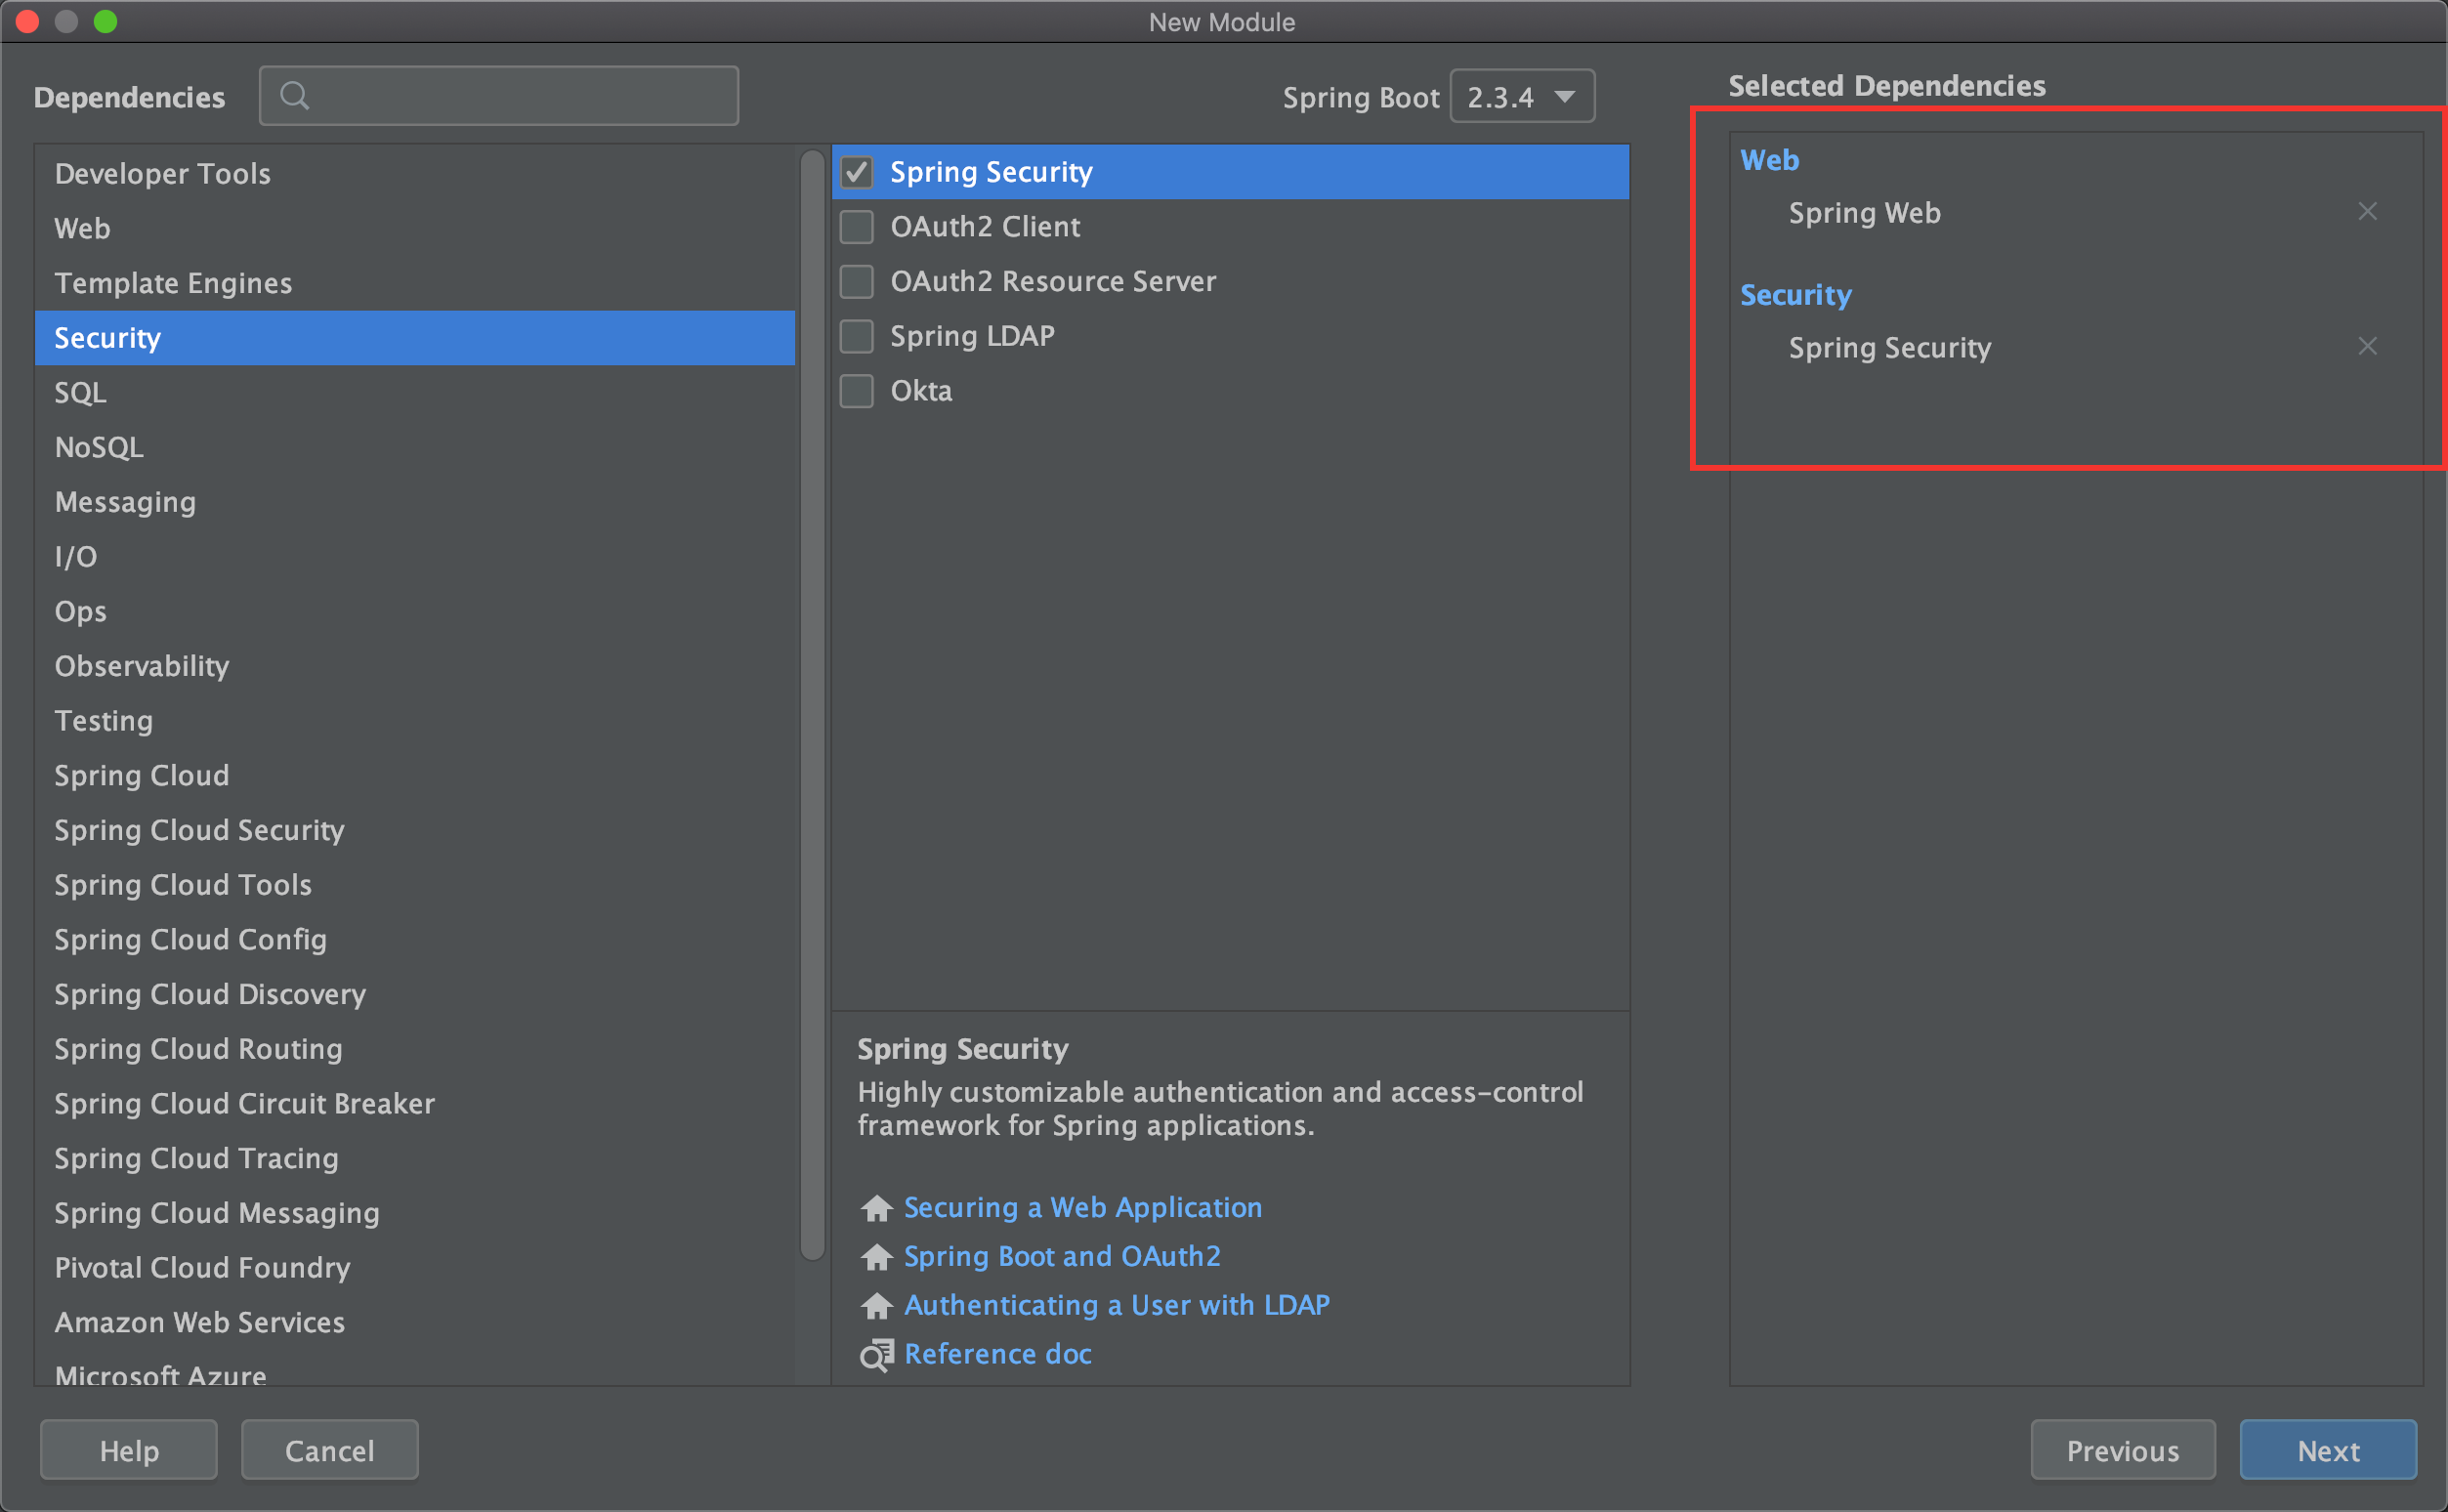
没看错,就只需要这两个依赖就行
pom.xml
1 | <!--security--> |
SecurityController
1 |
|
三、Test
启动项目可以看见,在控制台多了一行:

Postman
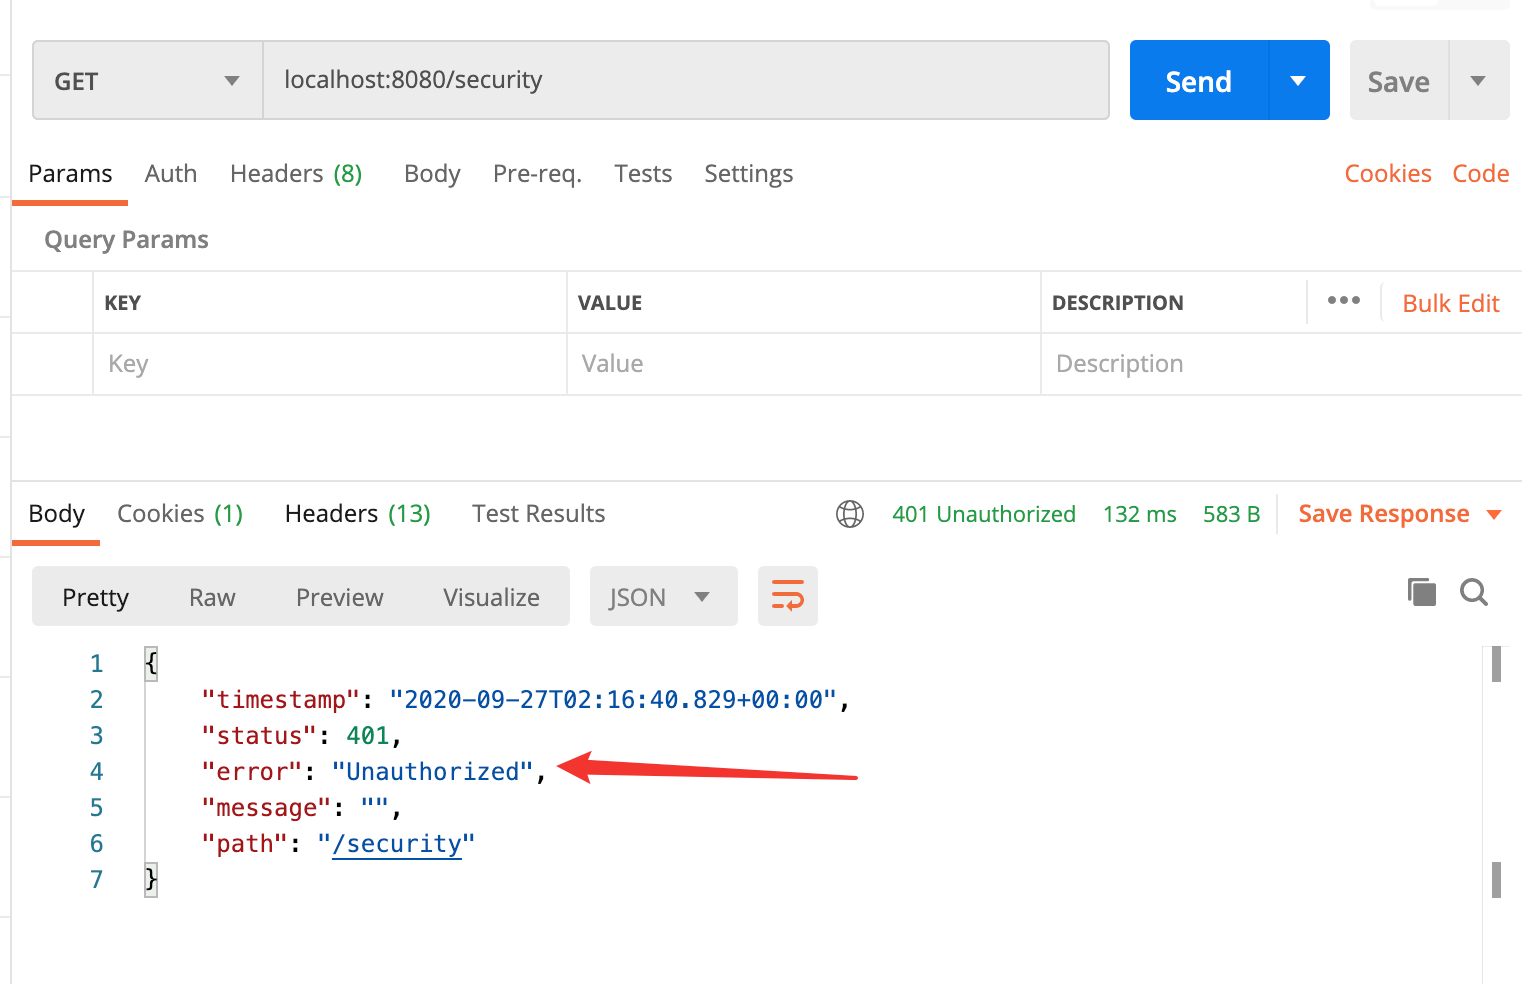
可以看见报错:401,没有进行认证
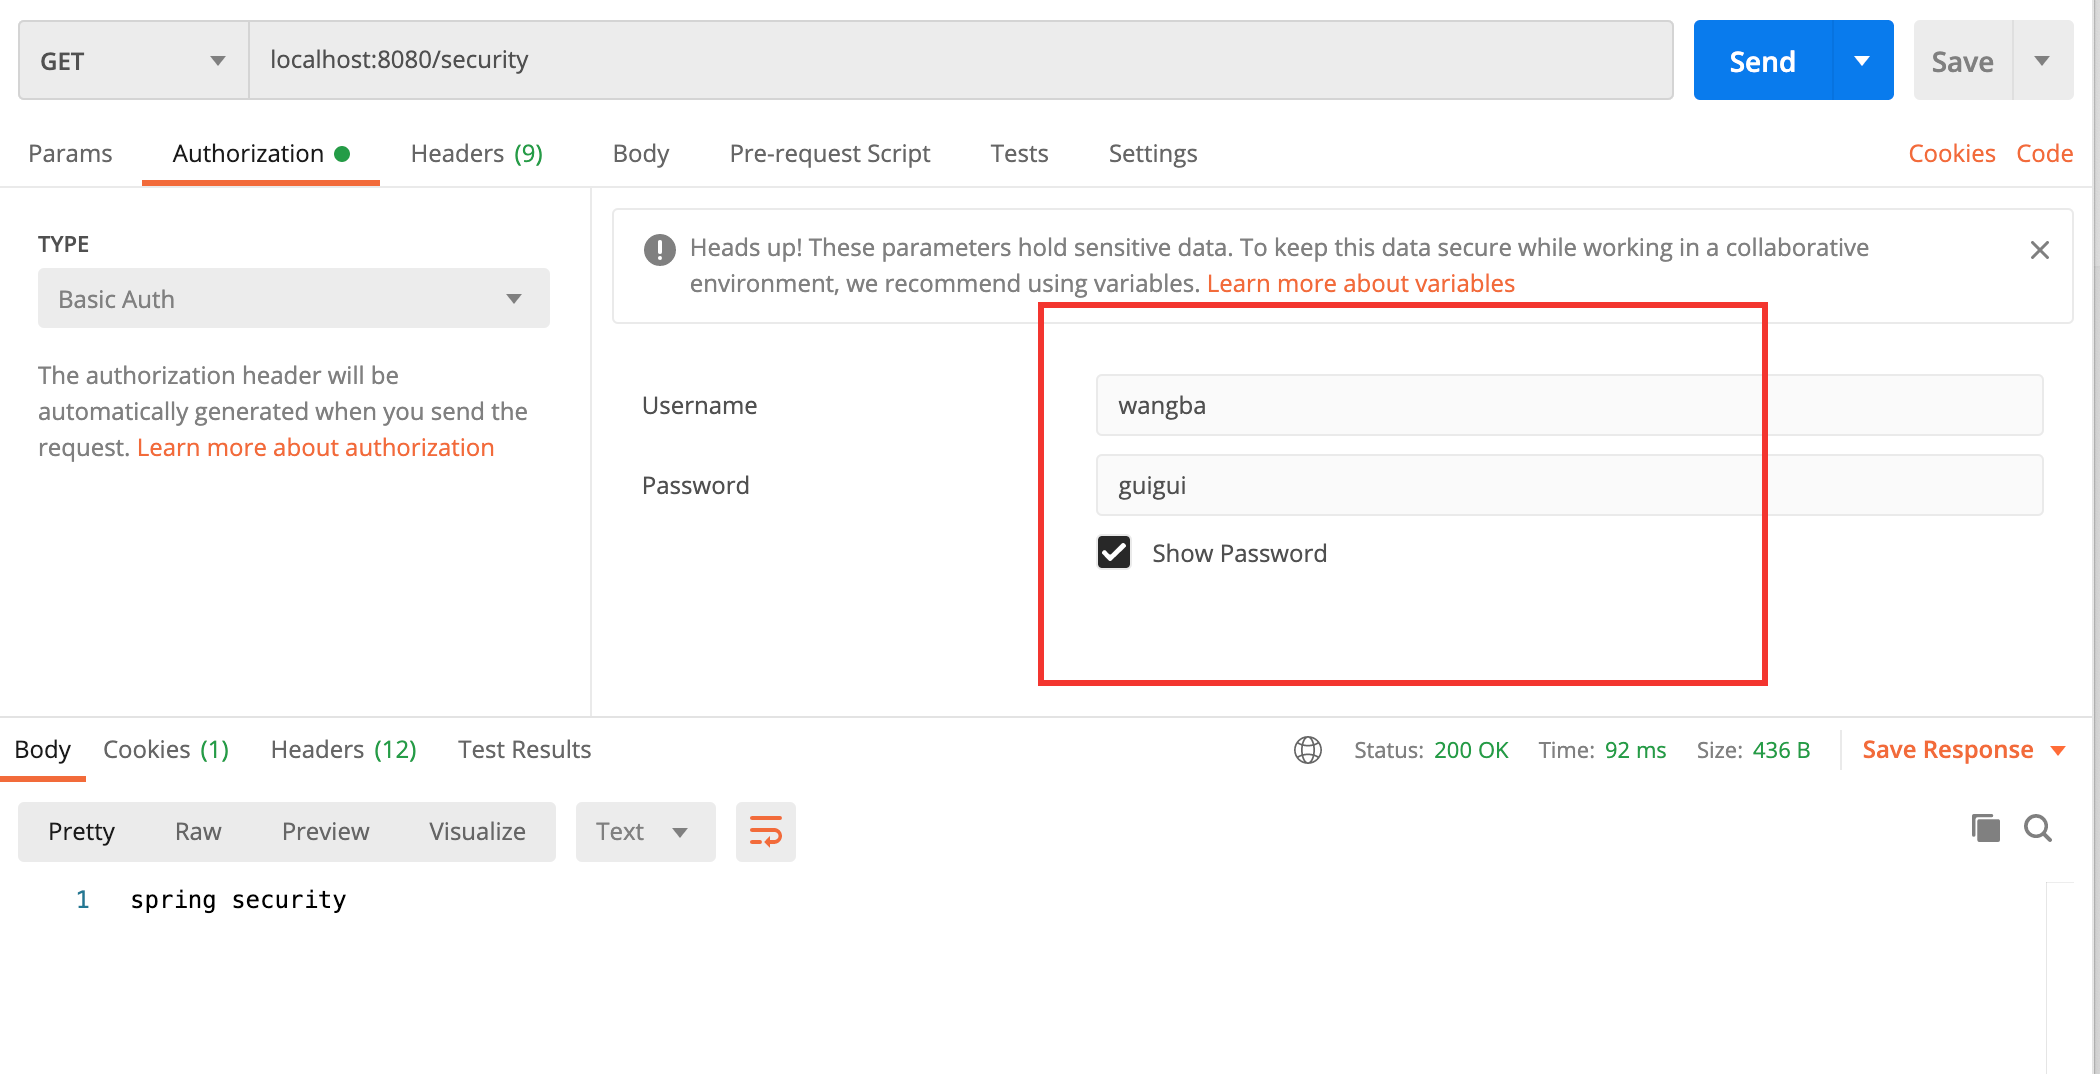
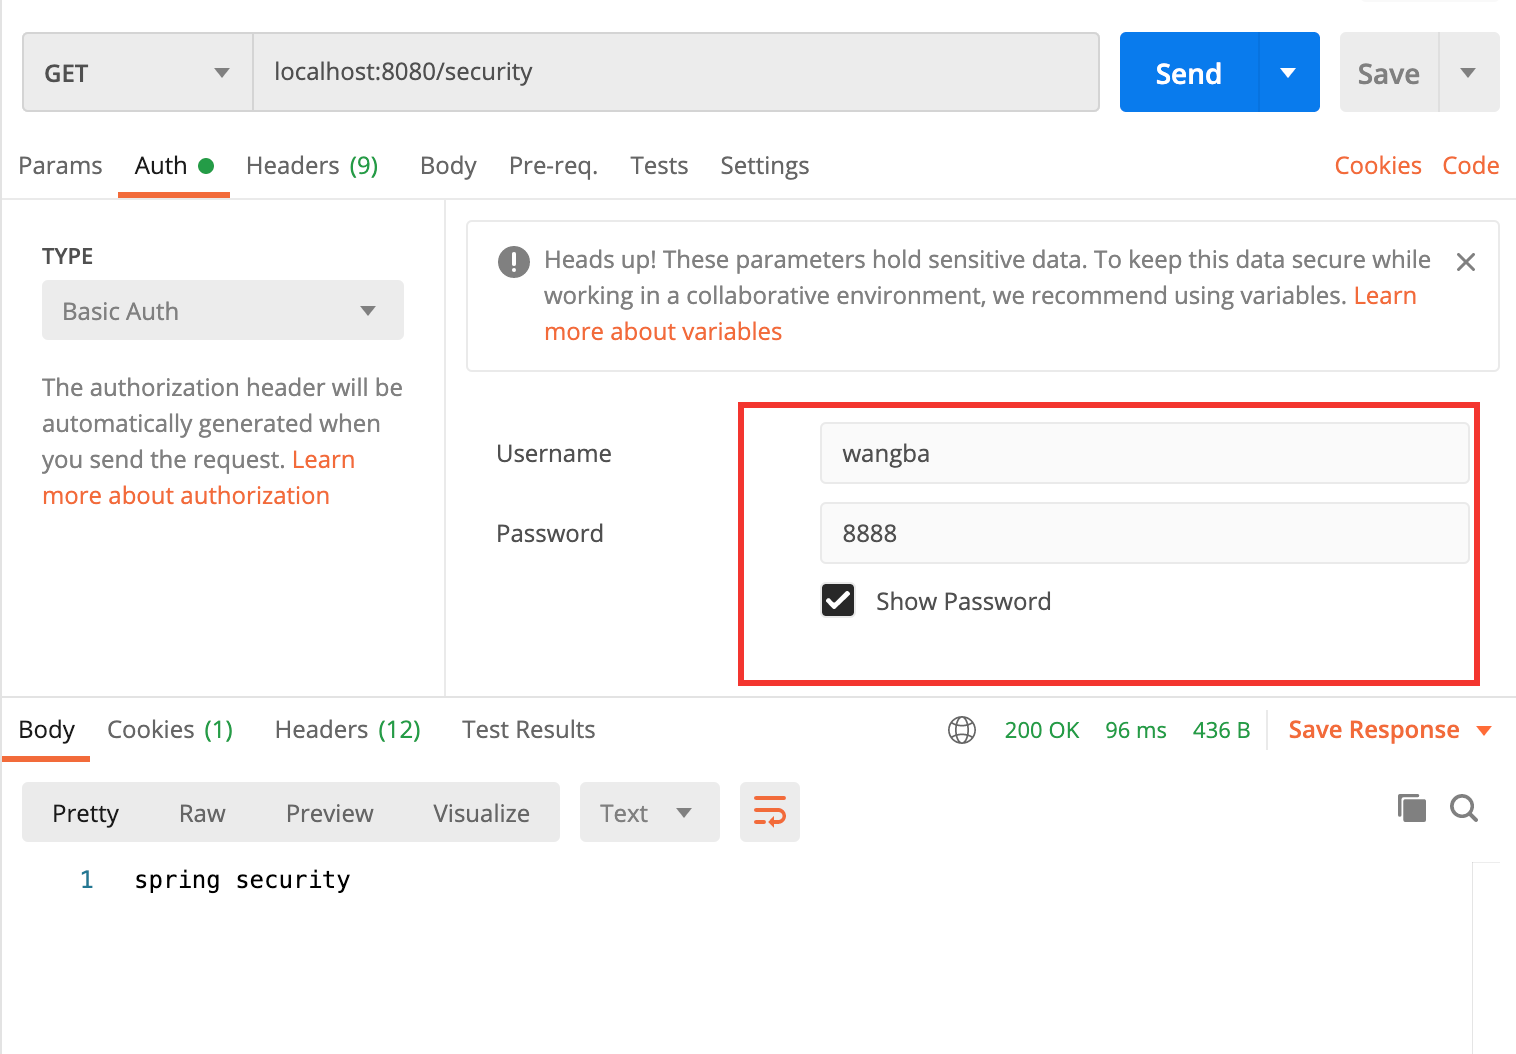
加上认证
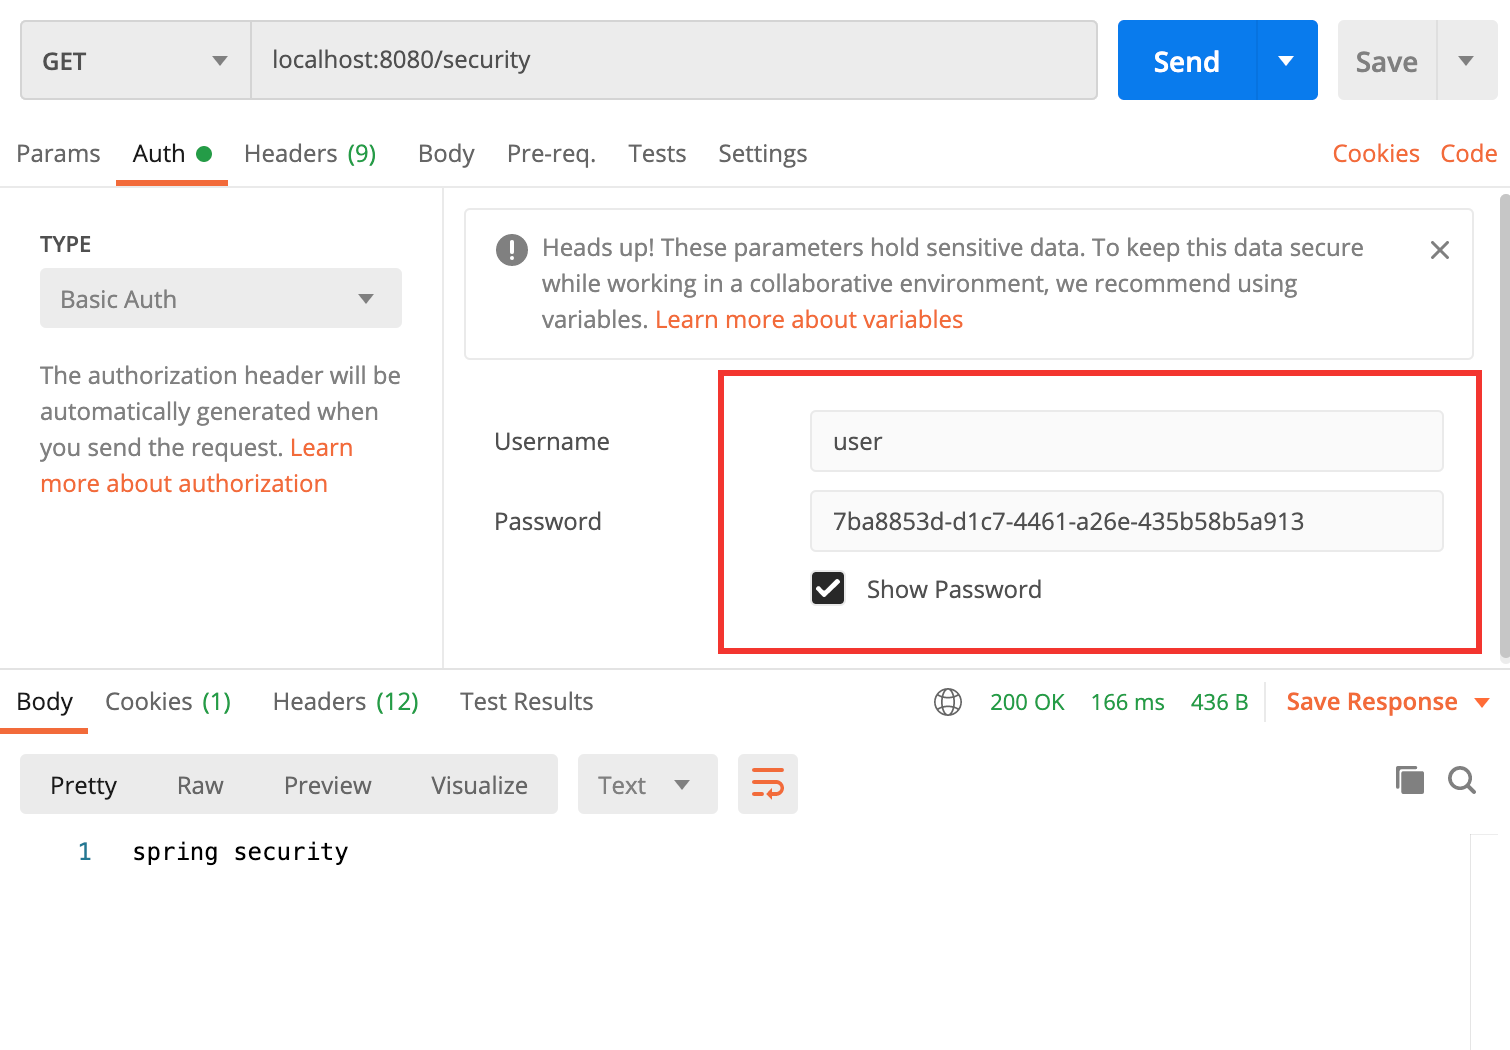
可以看见,加上 Basic Auth:
其中用户名为 user,密码为刚才控制台显示的即可
四、Deep Learning
🐢之疑问:为啥用户名是 user,密码就是控制台显示的那个?
分析思路:
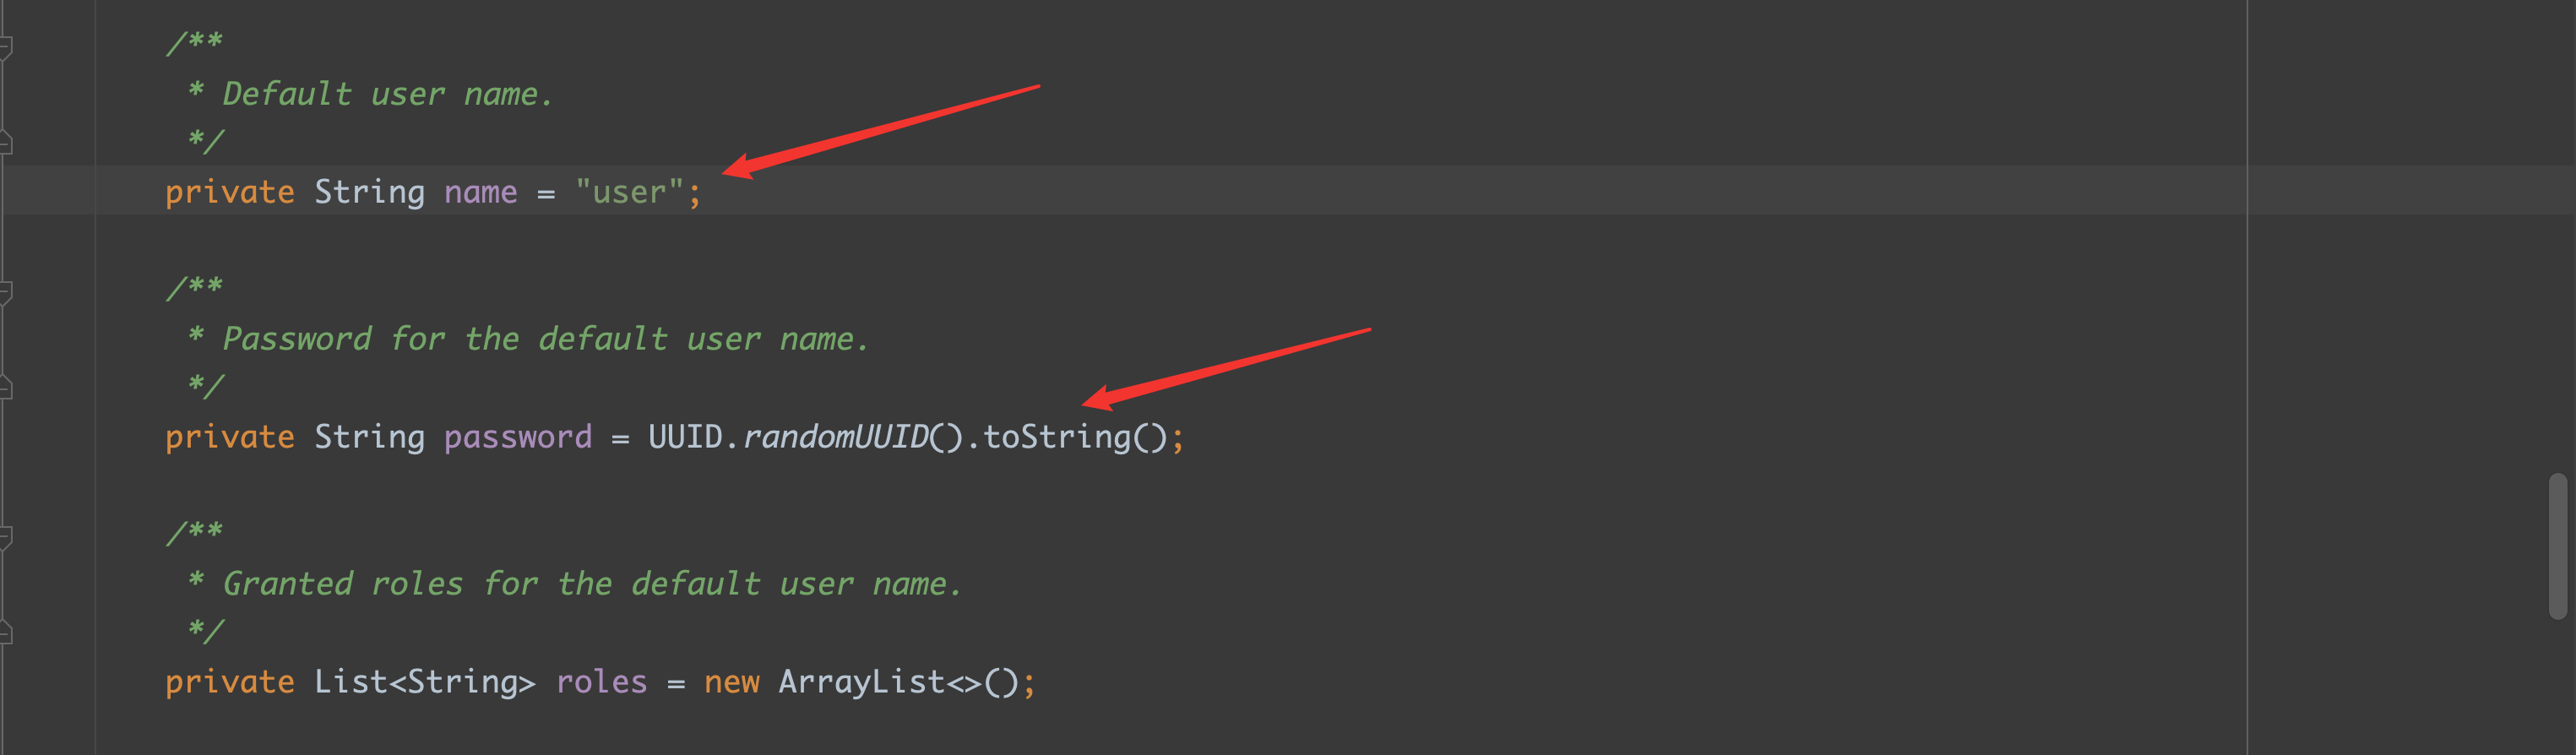
用户名和密码肯定在一起,这个密码又是 UUID 形式,某个地方肯定用了 UUID.randomUUID().toString()
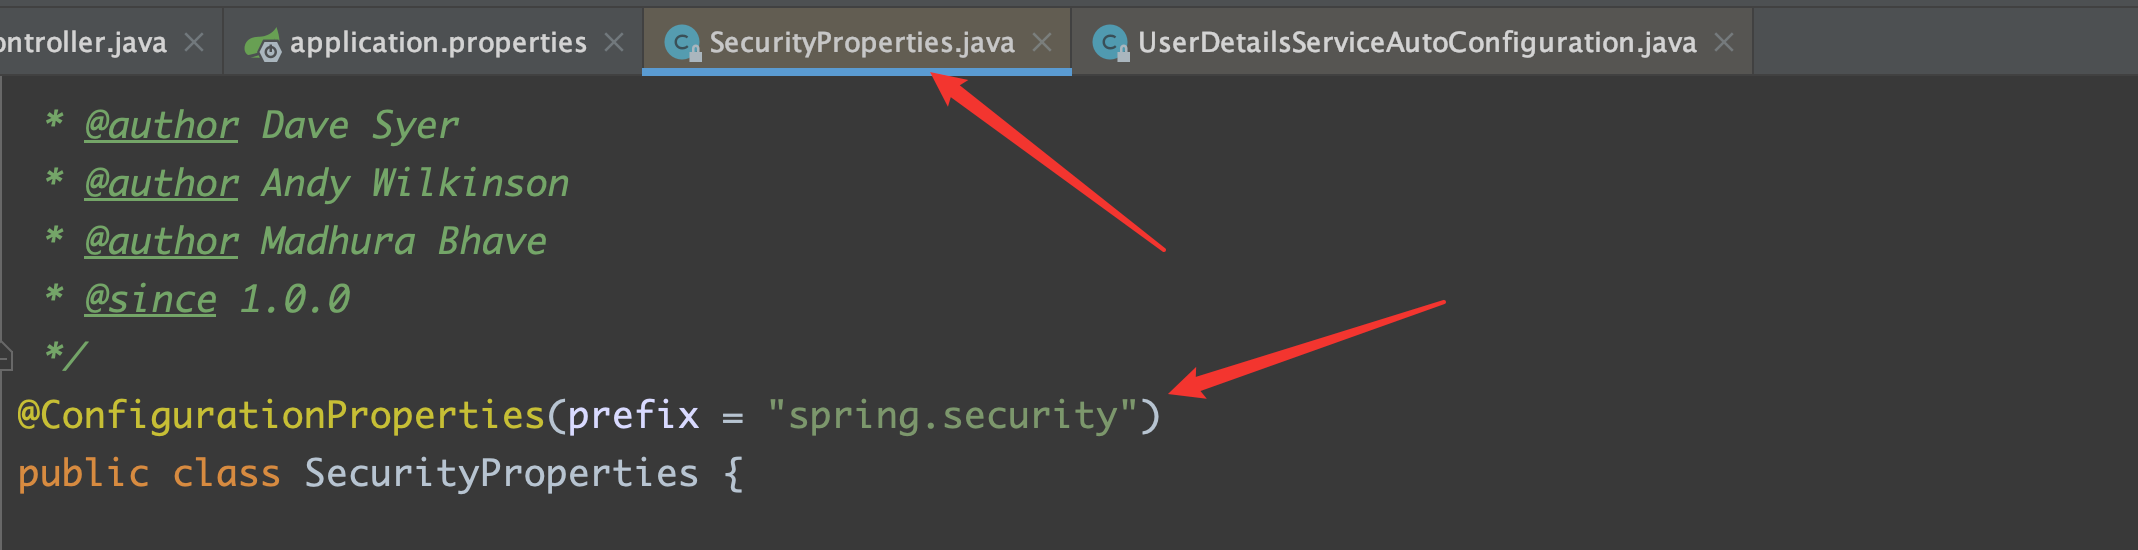
按照我们对 SpringBoot 的特性,肯定在 XXXAutoConfiguration 和 XXXProperties 中存在,果然在 SecurityProperties 中看到了:
接下来,我们要去找一找,在哪里有调用 getPassword 的这个方法的类:
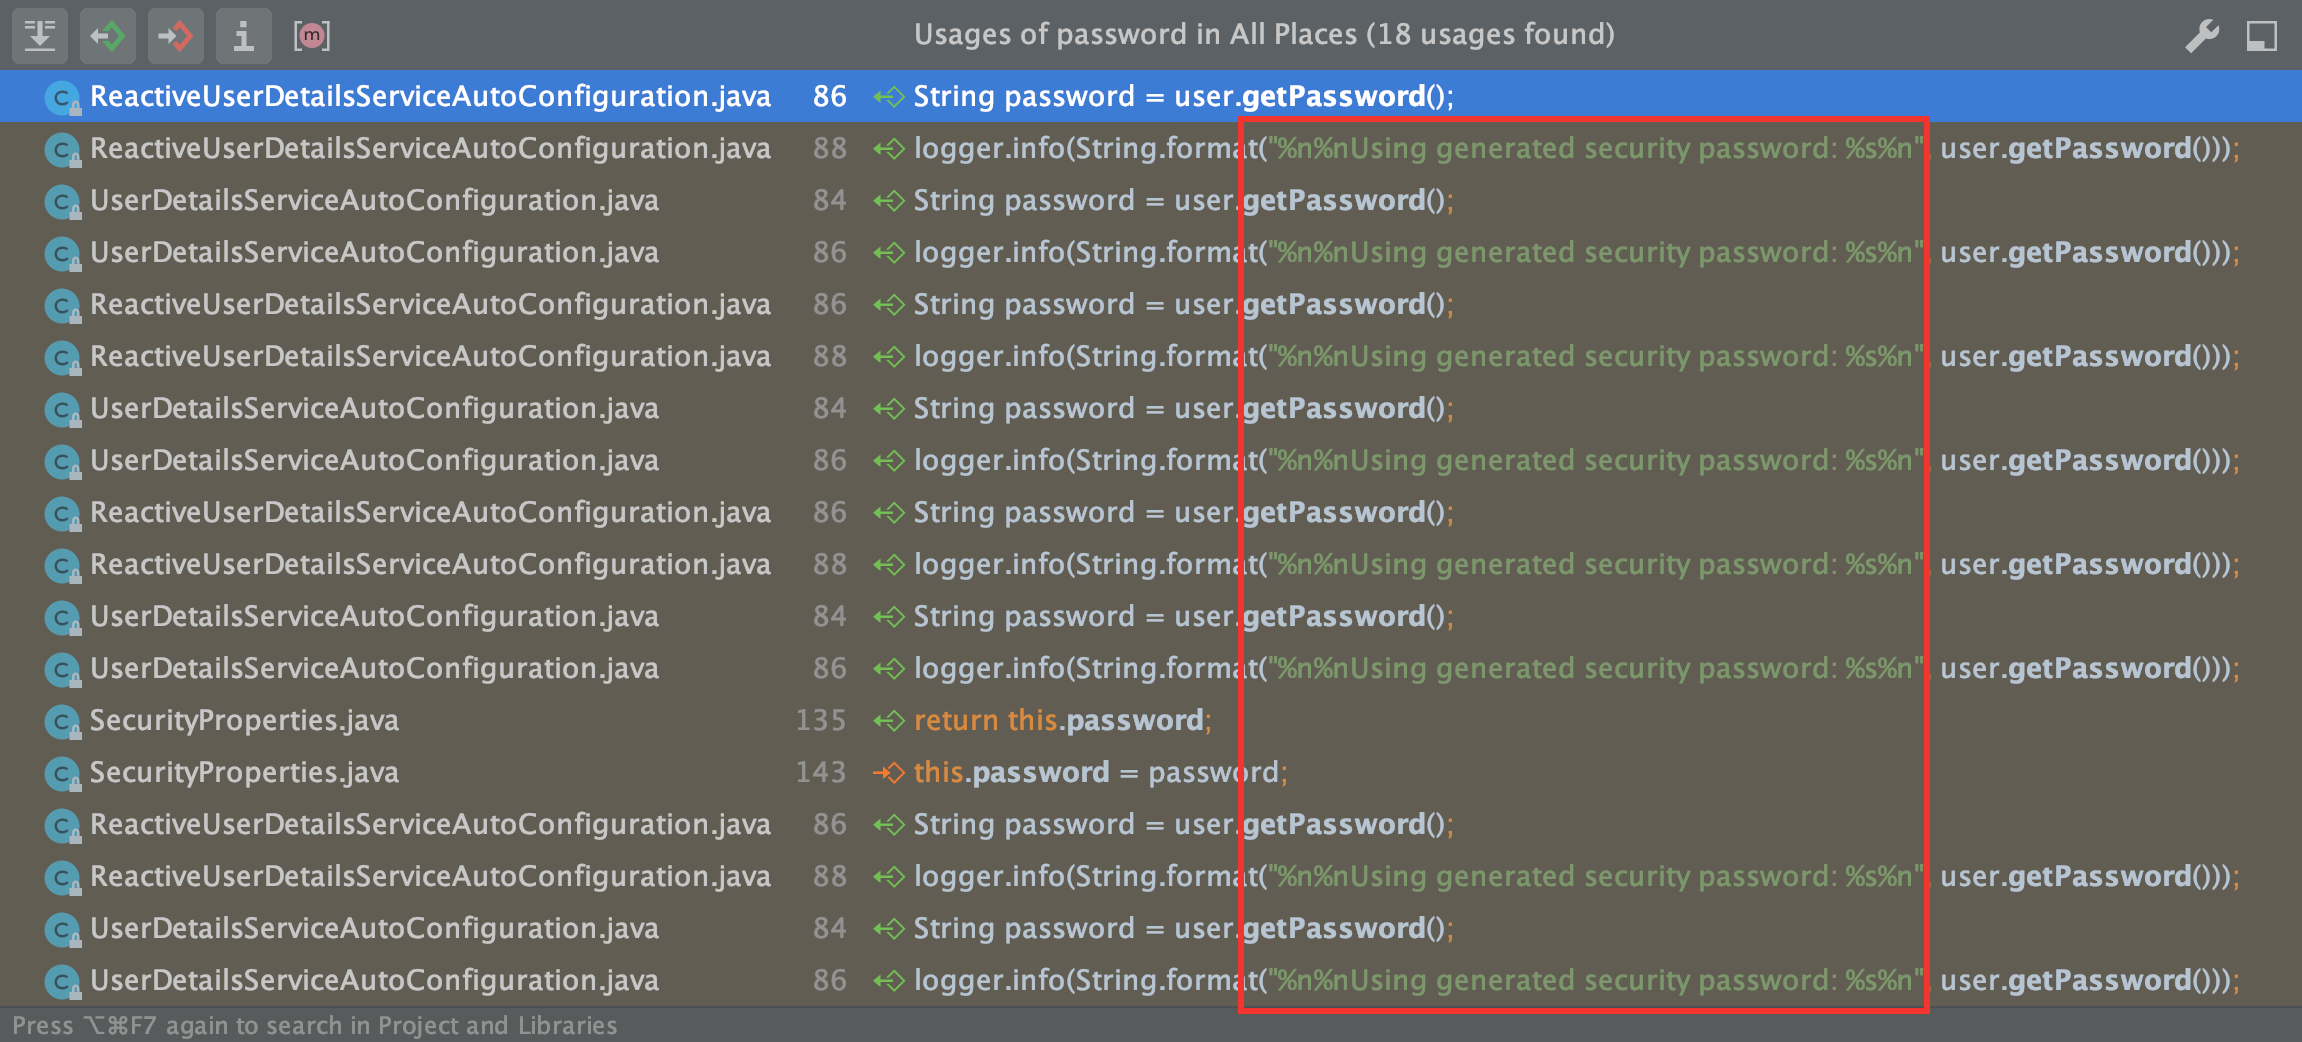
看名字应该就是:UserDetailsServiceAutoConfiguration
1 | private String getOrDeducePassword(SecurityProperties.User user, PasswordEncoder encoder) { |
其中:
user.isPasswordGenerated() 如果为 true,则打印该信息
再去 ==user.isPasswordGenerated()== 方法中探究一下,回到了==SecurityProperties== 类中了:
1 | private boolean passwordGenerated = true; |
默认情况下:passwordGenerated 就是为 true
🐢之疑问:每次启动都要输入新的的密码,太麻烦了,我需要自定义
第一种方法:
按照 SpringBoot 的特性,必然已经给你安排好了,肯定有一种方法是在 properties 文件中直接进行:

idea 已经通过提示显示出来了, idea yyds !
直接点进去看一下,回跳到哪个类中,不出🐢🐢的所料,应该就是 ==SecurityProperties== 类中:
果不其然,分别跳到了
setName
1 | public void setName(String name) { |
setPassword
1 | public void setPassword(String password) { |
注:如果在这里自定义了密码,就会将 ==passwordGenerated== 设置为 false,那么在 ==isPasswordGenerated== 就是 false 了,在 ==UserDetailsServiceAutoConfiguration== 中就不会自动生成密码了
application.properties
1 | =wangba |
第二种方法:
1 |
|